Sunday, 20 October 2013

Finds ... Tea Urn

All my life I have been a dedicated coffee drinker. To me the sound of beans being ground in the morning followed by that first whiff of freshly brewed liquid gold is the best way to start the day.


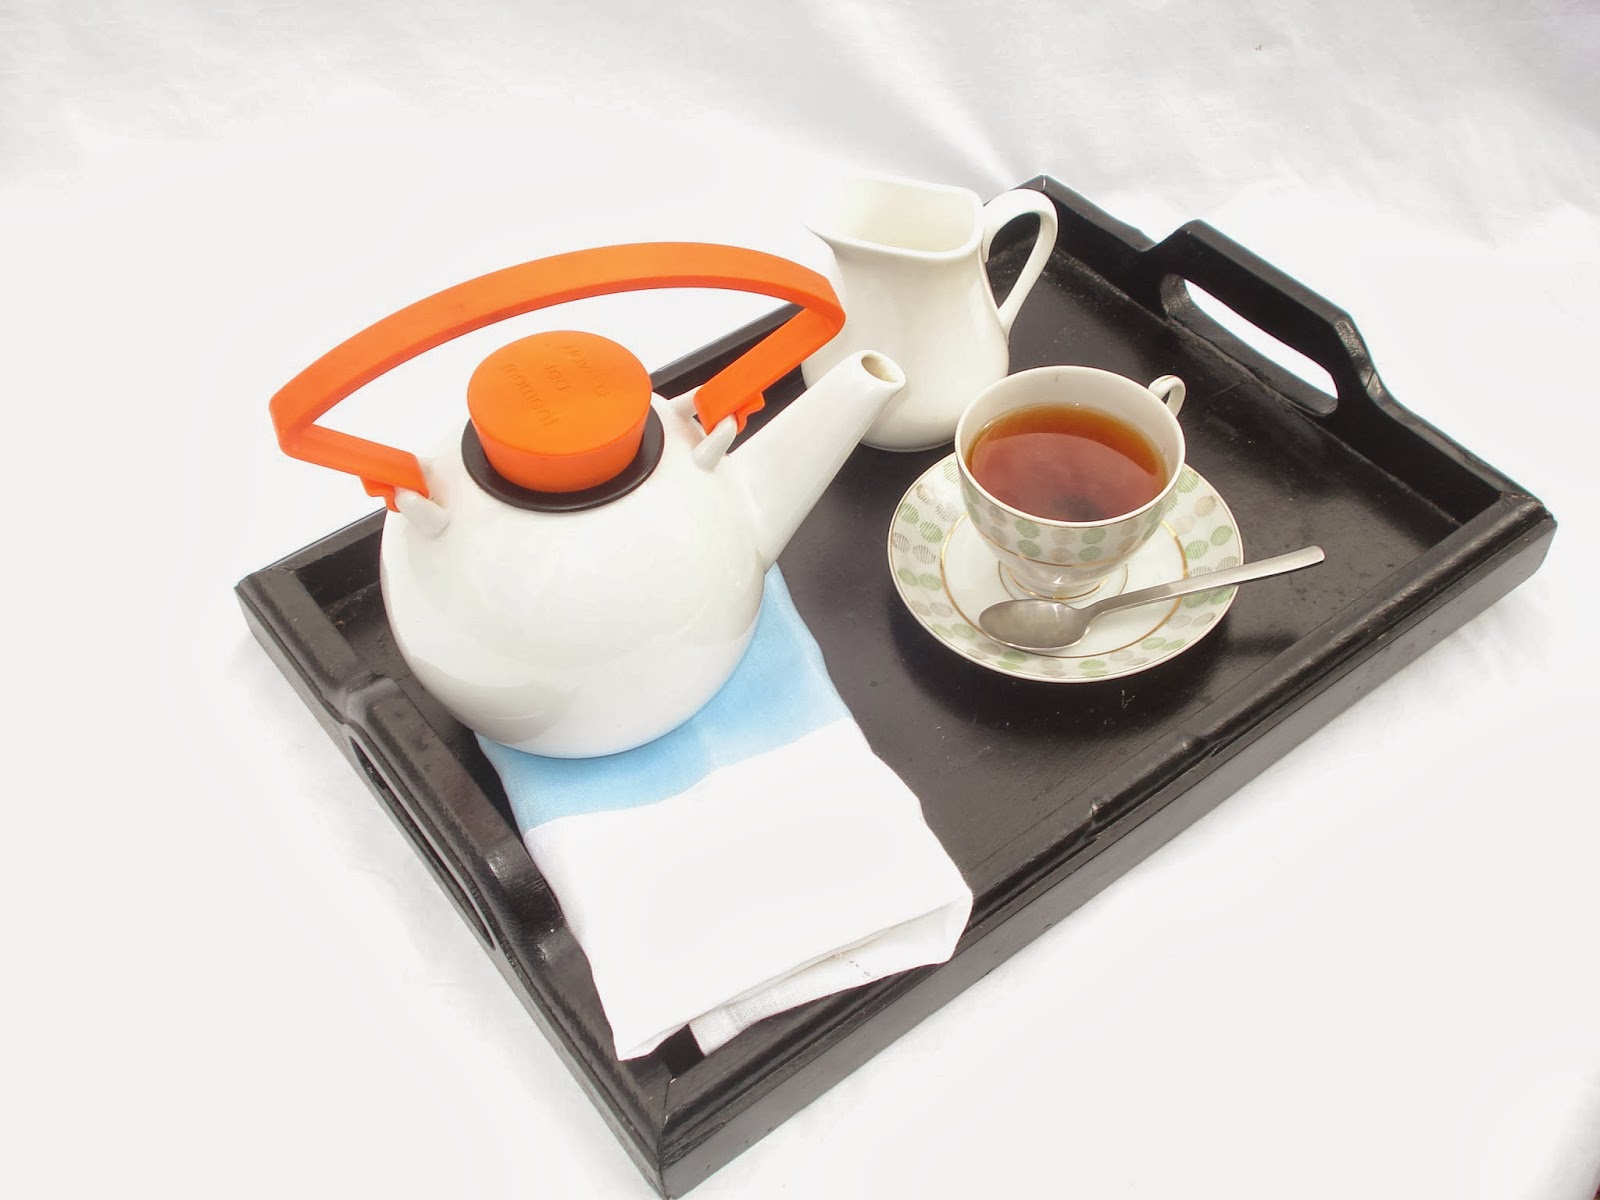
However, in recent years I have ventured into the world of tea. I think for me it’s the art or ritual of making a cuppa that I enjoy the most. Placing the tea pot , cup and saucer and cold milk jug on a tray with nice linen, taking up a spot outside with a book or magazine and just taking a moment to enjoy. Heavenly!
Now my first encounter with a silver tea urn was at an interior design workshop I attended a couple of years back. The table had been laid with vintage cups and saucers, small finger sandwiches and an old family heirloom – a silver tea urn.

It was love at first sight.

After much investigation online I discovered the styles were endless but had difficulty locating the ideal one in Australia.

After searching around (like I need an excuse to explore vintage shops) I came across an antique store west of Brisbane and found this gorgeous little tea kettle/urn. It had a dent in the side but was assured it could be restored quite simply by a silversmith.

  
Edwardian Silver Plated Tea Kettle with Spirit Warmer

So the next task I have is to find a silversmith and have this little baby restored back to its original condition.
I am hoping it will take pride and place alongside my ever growing collection of vintage tea cups.


Friday, 18 October 2013

Coming to fruition ... the vegie garden

I mentioned in my previous post that our vegie garden had been a long time in the making. Well in recent weeks it has been coming together in leaps and bounds. Thanks in most part to my husband and his determination to get our first crops planted.

Our property sees a multitude of visitors, from little bandicoots, native quails, wild hares and livestock from neighbouring farms who clearly see our paddock as being the greener pastures. A couple of weeks’ back I arrived home to find 4 steers munching happily on our grass. It was an amusing sight until one snapped off the branch of a soon to be fruiting mango. They were quickly herded back through the fence. Mind you I took the organic matter they left behind as a form of compensation and promptly shovelled it into the compost.  
So fencing around the vegie patch had to be a priority. To limit some of the back breaking work required to dig the 10 post holes needed to fence our large vegie area, we decided to hire a post hole digger. It took a few hours to dig the holes which included a few extras (a few meaning 25) around the property where we are planning to create wind breaks and a small water tank stand (more on that to come).

I wanted an old style ‘post’ fence to surround the garden and we had been looking at our options. A neighbouring farm had split posts for sale for $10 each. But I had my mind on something a little more well- worn. We checked with our local recycle centre and managed to uncover very old hardwood posts that were approximately 5.2m long. The guys at the centre cut them up for us into 1.5m lengths. In the end we had 12 posts plus 4 smaller offcuts which would make the basis for the water tank stand. In total the posts cost us $70 which was a saving of at least $50 if we had gone with the first option. I love a bargain.


We had already created a timber gate using old fence palings which we used to separate an area behind the shed. It was always left open so we decided to repurpose it and I think it fits in beautifully.

I had to chuckle though when my son kept taking the time to open and close the gate as he was coming and going. Despite the fact that we hadn’t put up the chicken wire towards the right of the gate and he could freely walk in when he chose. I took it as a quality assurance measure - him testing the gate’s durability.

So with the fencing near complete and housing a sturdy gate, the next step will be to:

·         build up the garden beds with organic matter;

·         plant out the first crops; and

·         lay the saw dust paths around the garden beds.

What are your gardening plans this weekend?

Wednesday, 16 October 2013

Vegie garden with a chicken dome

After longer planning than I care to admit we have started on a permaculture vegie garden. Inspired by Linda Woodrow author of the book The Permaculture Home Garden we have identified a suitable plot of land which seems to have good drainage, a north-easterly facing aspect and will be in close proximity to the new house when built. So we set about plotting and planning our 7 circle garden. We had decided on a single mandala system.


The theory behind the circle style garden is having the opportunity to place the moveable ‘chicken dome’ over the garden beds. Initially the chickens will scratch and clear the beds of any grass and weeds and also supply a thick layer of organic matter to fertilise the plants. Later, once the beds have been established the chickens can eat the remaining glut and those plants gone to seed, devour any chicken fodder planted and start the process again.
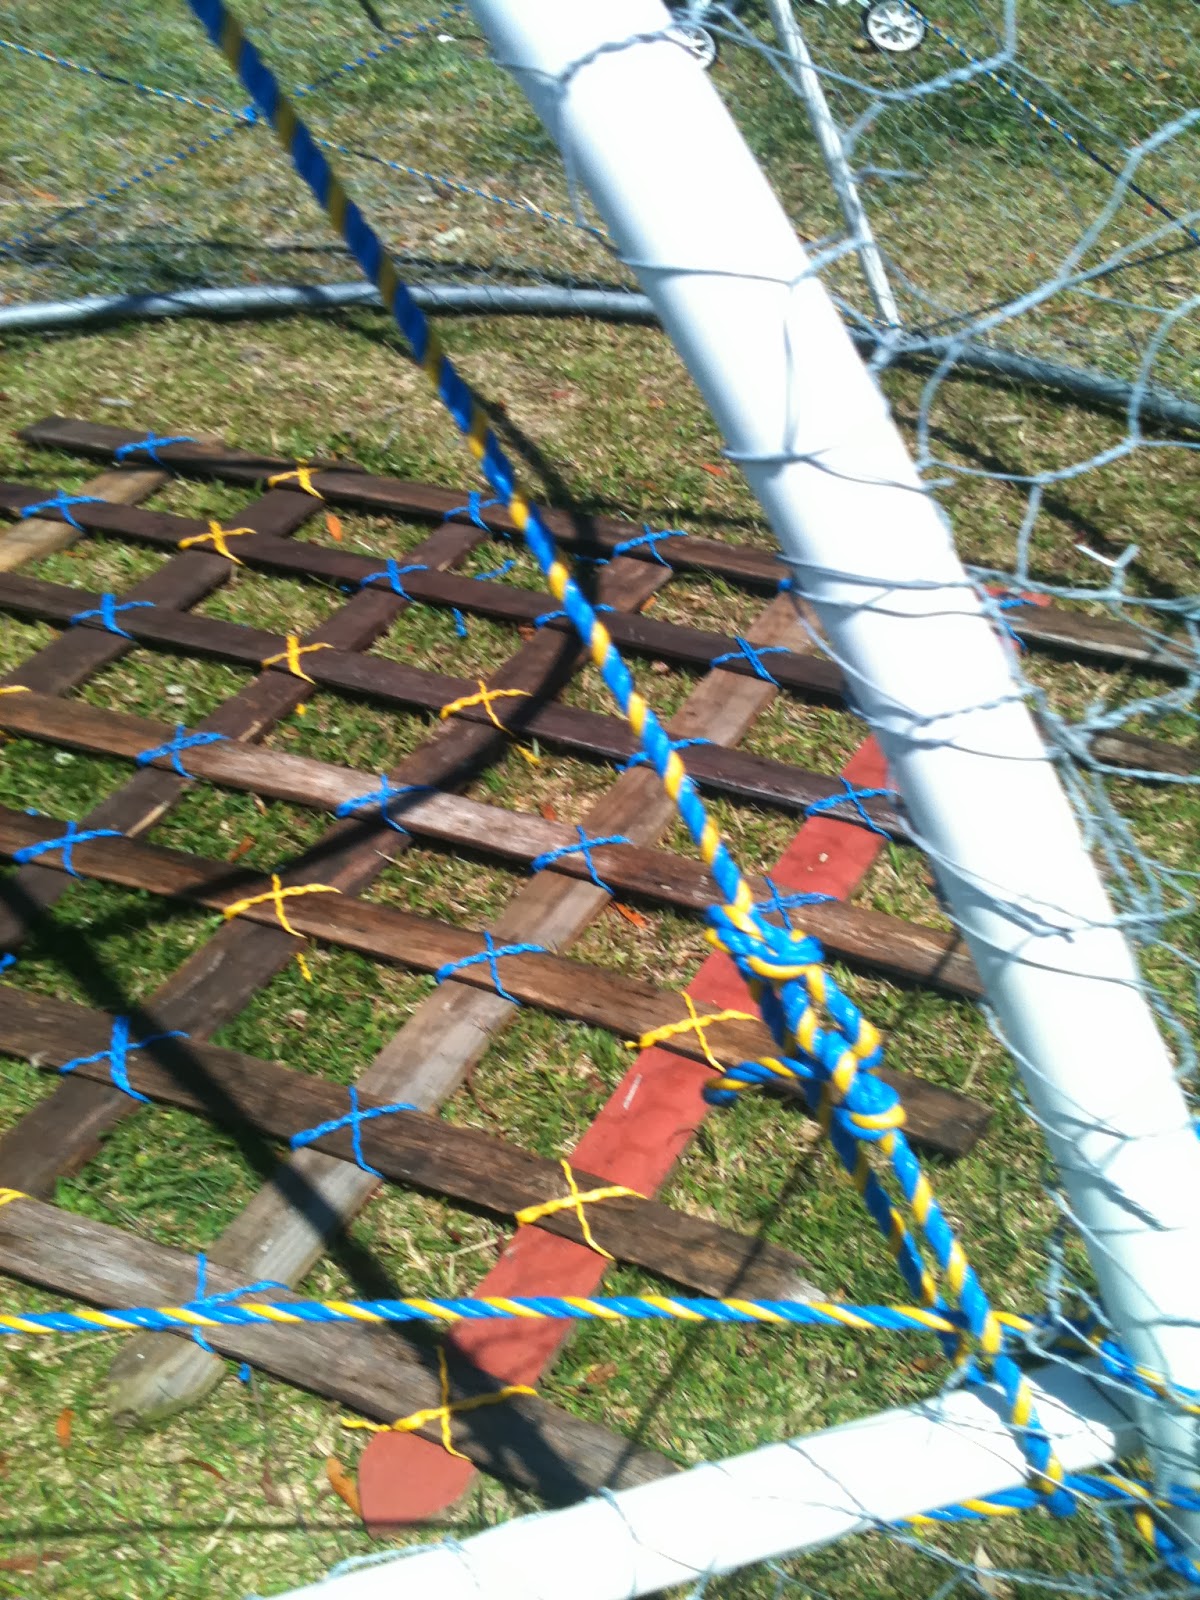
Wanting to re-use and recycle as much as we could, we fashioned the base of the chicken dome out of an old trampoline base. We had quickly learnt after moving the trampoline onto the property, to secure objects firmly to the ground during the windy season. This happened after arriving one weekend to find the old trampoline a twisted mess of its former self lodged squarely in the creek some 100 metres away. Using electrical conduit, shade cloth, a tarp, chicken wire and timber batons we were able to create a sturdy and extremely functional dome. One which could be moved around by one person.
The roost was secured from the roof. This design provides the chickens a level of safety from predators as does the double layering of chicken wire around the base. Linda Woodrow recommends using an old grass catcher from a lawn-mower as the laying box and to date it has worked a treat.


At the moment the girls (chickens) are rotated around the property in the chicken dome and free range during the afternoons and weekends. Their food sources are kitchen scraps, layer mash and whatever they can scratch out. I am looking forward to reducing the layer mash with our own vegie glut and purposely grown chicken fodder.

I can hardly contain my excitement about the prospect of selecting and picking our own produce.

Tuesday, 15 October 2013

Project...reviving the ottomans

I saw a pin on Pinterest showing a great option to recover a couple of old tan, suede like ottomans we bought many years ago.


Wanting to keep them as additional seating or leg rests which could be used in either the future media room or living area the fabric or print selected needed to be versatile. The living area will be mostly white with blue and hints of yellow and the media lounge is a dark grey.

Now I am not a seamstress by any stretch of the imagination and in the past would call upon the expertise of my mother or sister when the situation called for a needle and thread. But more recently I have wanted to learn. My first sewing project a few months ago was a few envelope style cushion covers for the outdoor setting. I proudly mastered the use of the overlocker. I know… it’s not really sewing but it was a start.
The ottomans are about 45cm x 45cm in length so I headed off to Spotlight to purchase some fabric which would be sturdy enough to withstand a multitude of uses. Some of those being what you would expect such as the putting up of feet after a hard day, or even as extra seating when friends pop in. Some of the other uses, as tested by my son, include fort walls, boxing sparring partner (cubes stacked upon each other to create a worthy opponent) and as a bowling ball cube!

So with a rough idea of how I wanted to proceed I cut the fabric into 6 pieces, to cover 2 cubes. After pinning the fabric together inside out I set about sewing the seams together.


As you can see below they are coming together quite nicely. I am in two minds as to how to finish them off. One idea was to hem the base with elastic but found the fabric gathered more than I was expecting. The second idea and one I am steering more towards is to hem the bottoms and secure them with Velcro.


The plan is to finish them both this Friday. Keep you posted.

Sunday, 13 October 2013

Loves...Pinterest

It is becoming my Sunday morning ritual to find a nice quiet place on the property, set myself up with a cup of tea and my laptop and browse inspirational images on Pinterest.

With focus now on building our home, here are some of my new home loves....


Happy Sunday


Wednesday, 9 October 2013

In between...Venice

In May this year I was fortunate enough to travel overseas with my teenage daughter. It was an opportunity of a life time for us both.

Our first stop and by far our favourite was Venice. We spent hours getting lost in the laneways, over bridges, along canals and through tree lined parks.


One of our most enjoyable experiences was a Ghost Tour through the streets of Venice at night. It commenced at 8pm, but doesn’t get dark until almost 9pm. However the dimming light paved the way for a gradual and increasingly eerie experience. Our tour guide, Christina, had a Masters in architecture and history and until she married a few years earlier had lived on the island. Her knowledge of the area was extraordinary and her ability to tell a tale, engaging.

We were captivated from the start. The architecture, the history and embellished tales passed along to children as a means of keeping them safe and from travelling alone through the darkened streets were fascinating. 

Once our new home is complete one of my future projects is to convert some of the images taken on my Samsung mobile into sketches and have them framed. I have fallen in love with this function. They make great personalised gifts for family and friends.
Nicole


It was an amazing trip, one I would happily do over.